How to Resolve “Could not create Apple ID” Error on Apple iPhone
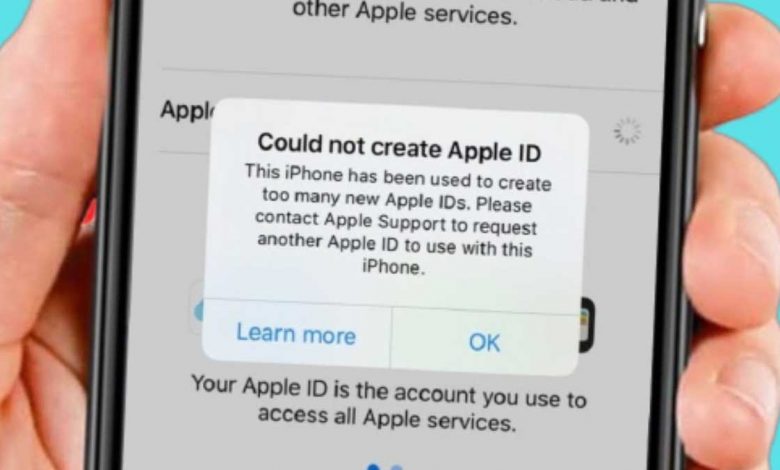
Encountering the “Could not create Apple ID – This iPhone has been used to create too many new Apple IDs” error while setting up a new Apple ID can be a frustrating experience. Whether using the latest iOS 17 or an older version, this error can be a roadblock.
This comprehensive guide will walk you through the steps to create your Apple ID without encountering this error. It doesn’t matter which iOS device you have; the solution applies across the board. Let’s dive into it and get your Apple ID set up smoothly.
Step 1: Accessing Apple ID Creation
To create your Apple ID without encountering the “Could not create Apple ID” error, follow these straightforward steps:
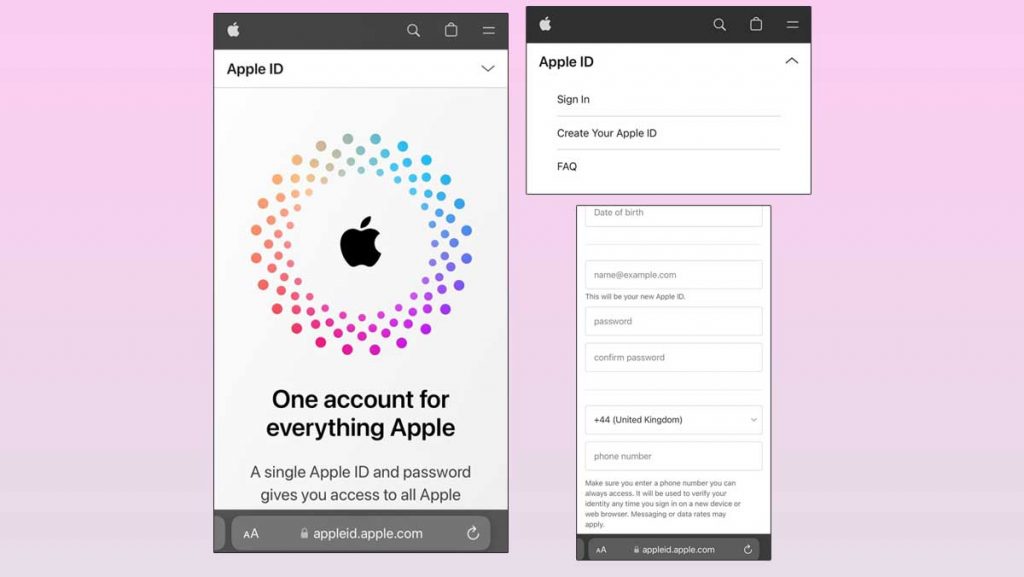
- Begin by opening your preferred web browser (Safari) on your iOS device. It’s important to note that this method is done through a web browser, not the device’s settings.
- In the web browser’s address bar, type “appleid.apple.com” and hit Enter. This will take you to Apple’s official Apple ID creation page.
Step 2: Filling in Apple ID Details
Now that you’re on the Apple ID creation page, follow these steps to provide the necessary information:
- Click on the “Create Your Apple ID” link. This will initiate the process of setting up your Apple ID without encountering any errors.
- On the Apple ID creation page, fill in all the required details. This includes your desired username, country of residence, date of birth, and an email address. You can use popular email providers like Gmail, Yahoo, or Hotmail.
- Create a secure password for your Apple ID and enter it in the appropriate field.
- Provide a valid phone number as well. This number will be used for verification purposes.
- Complete the security step by entering the provided captcha code.
- After filling in all the required fields, scroll down and click on “Continue” to proceed.
Step 3: Verifying Your Apple ID:
To ensure that your Apple ID is successfully created without any errors, follow these verification steps:
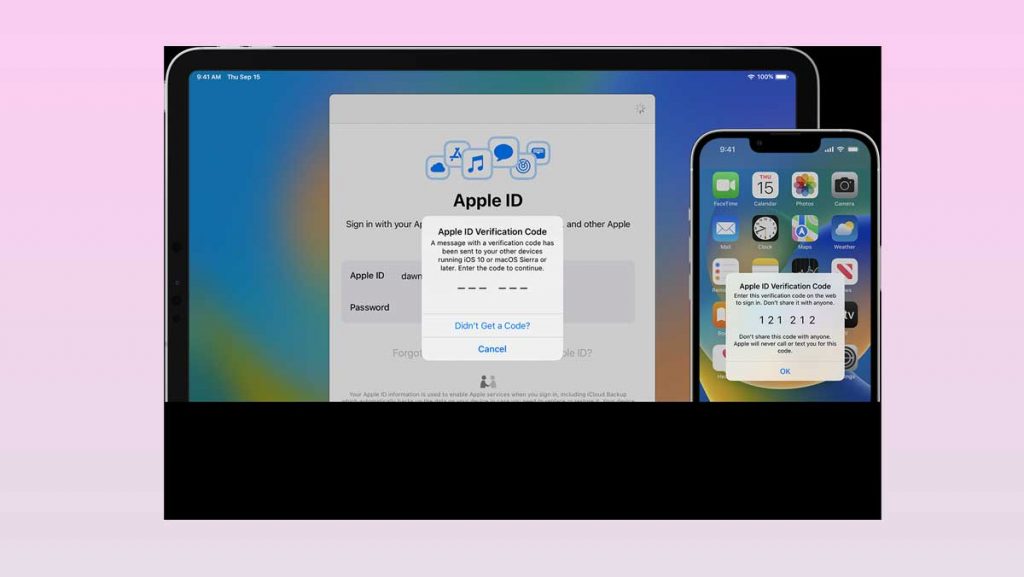
- Check your email inbox, including your Gmail account, for a verification code sent by Apple. Enter this code on the Apple ID creation page where prompted.
- Once you’ve entered the verification code, click “Next” to proceed.
- Apple will require you to verify your phone number as an added security measure. Enter the code sent to your phone by Apple for verification and click “Next.”
In Conclusion
Congratulations! You’ve successfully created your Apple ID without encountering the “Could not create Apple ID” error. Now, you can use this Apple ID across various Apple services like iCloud and the App Store. It’s important to note that this method is done through a web browser and doesn’t rely on your device’s settings.
Whether you have the latest iOS 17 or an older version, this solution works universally. If you found this guide helpful, don’t forget to share and leave a comment.
FAQs (Frequently Asked Questions)
Why do I encounter the “Could not create Apple ID” error?
The “Could not create Apple ID” error often occurs when a device has been used to create multiple Apple IDs. Apple has security measures in place to prevent misuse of its services. If you encounter this error, follow our guide to create an Apple ID without mistakes.
Can I use any email address to create my Apple ID?
Yes, you can use any valid email address, such as Gmail, Yahoo, or Hotmail, to create your Apple ID during the process outlined in this guide.
Does this method work for all iOS versions, including iOS 17?
Yes, this method is designed to work across all iOS versions, including the latest iOS 17. Whether you have the newest iOS or an older version, you can create your Apple ID without encountering the error using this solution.

